Showing posts with label Renovation. Show all posts

Friday, September 2, 2011

The Kitchen - After

The kitchen has been a total transformation from start to finish.
What I remember most about working on the kitchen initially was 'What have I done?'
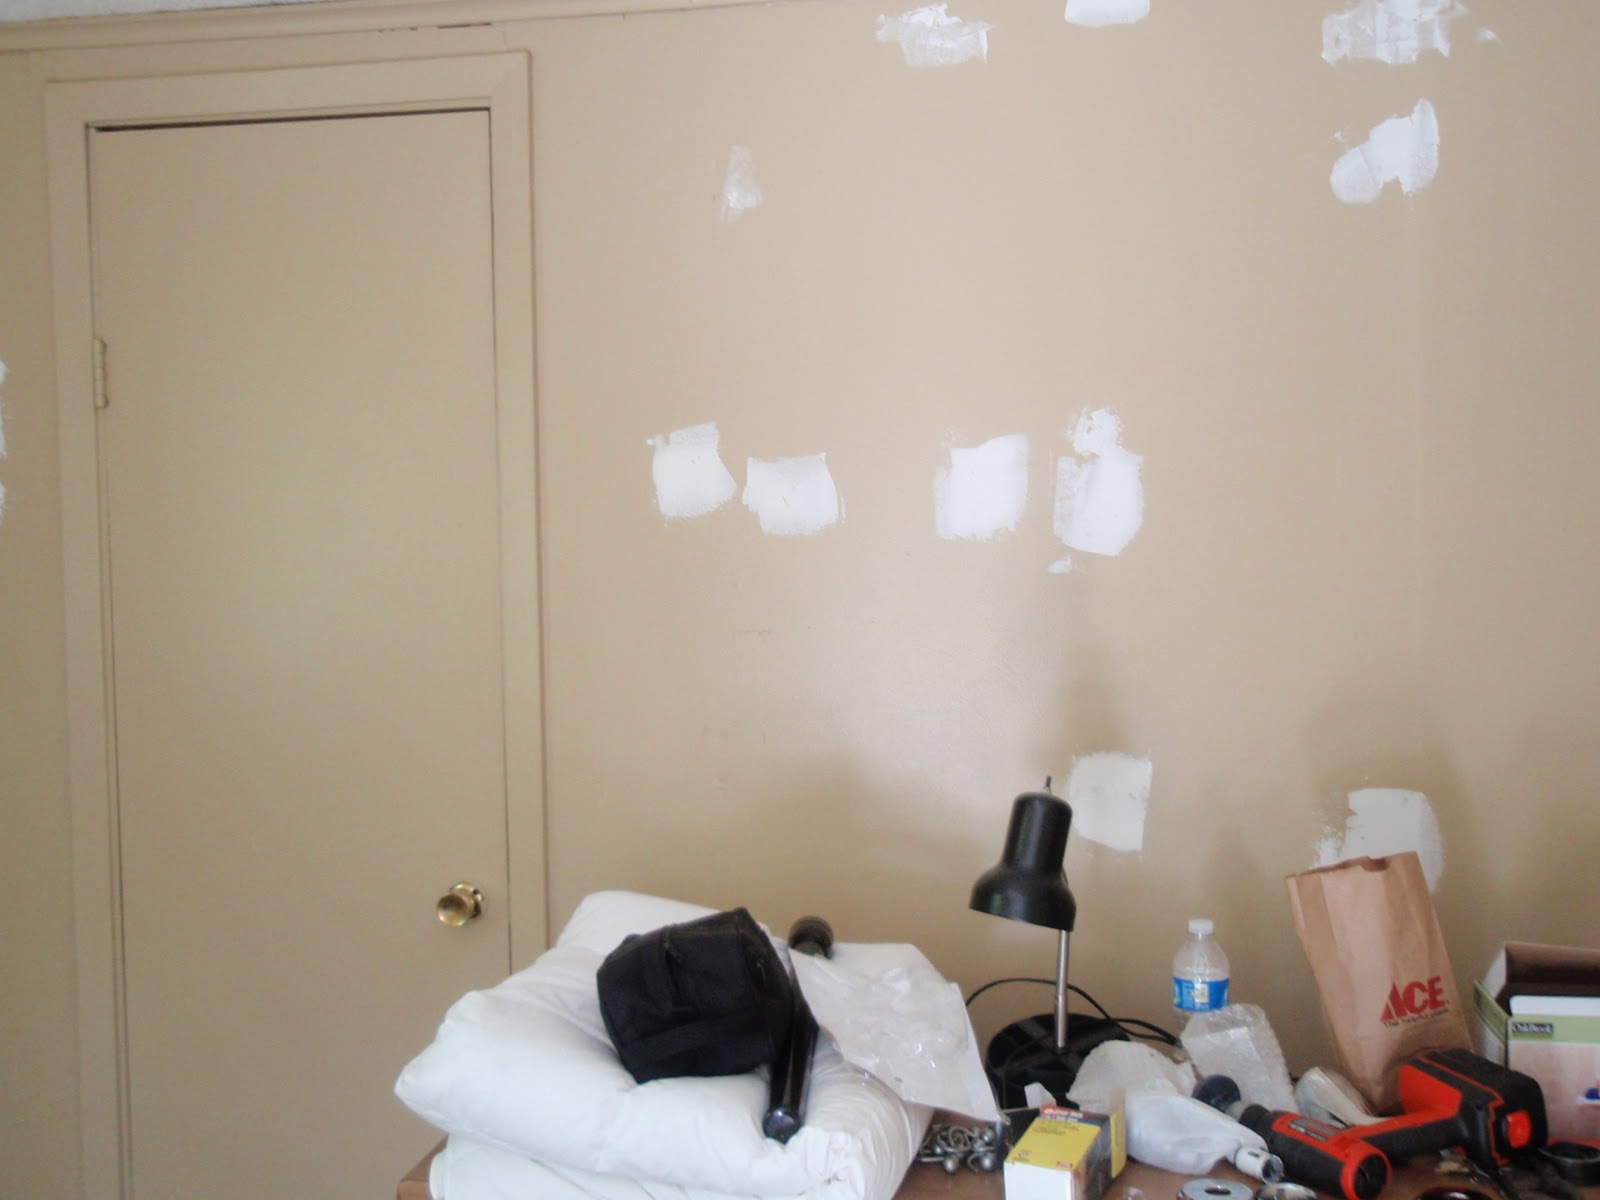
Once I started taking the many layers of contact paper off the walls, part of me just wanted to get a hot glue gun and put it back.
Then, Spackle saved everything.

I don't think we will ever be done with the kitchen exactly.
Small changes, a little at a time.

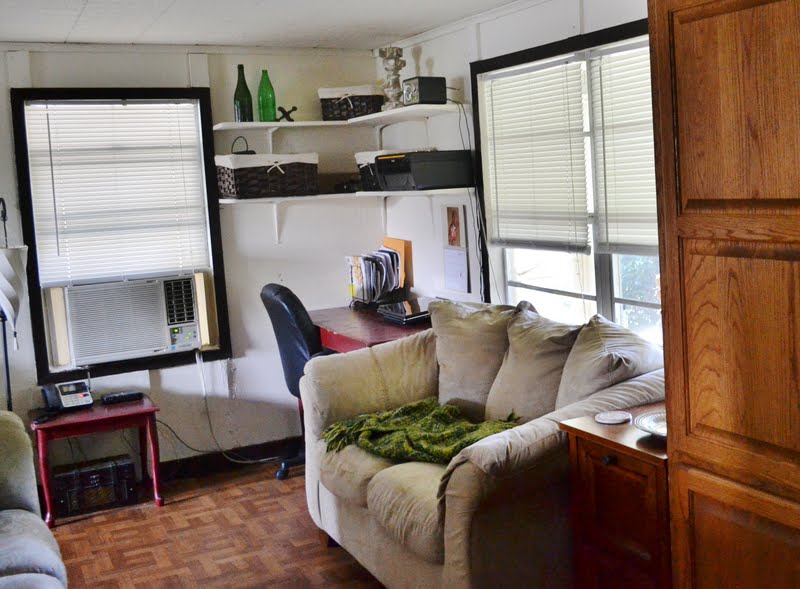
Now, this is what the kitchen looks like.


Well, sort of, exactly at this moment the top of the table is cluttered with junk, there are dishes that need to be put up, a skillet with grease in it needs to be dumped and washed. But at just this moment I have my back to the kitchen, so the mess doesn't exist.


Did you see the hunky new refrigerator?

That was more of a necessary buy instead of a luxury purchase.
The weekend we were at the food show, our frig decided to give out.
But I'm secretly happy it did.
It has so much more room and came all nice and clean!


I really didn't want to put anything in it.


So, just a peek of how far the kitchen has come.


Contact paper removal.


Newly 'sticky tiled' counter top with painted cabinets and trim.


Re-painted cabinets and trim


Move in


New floor, new refrigerator, new shelves in the back corner (courtesy of Mr. Z)


We have some plans for the sink unit and the bare space above the stove.

Wednesday, August 31, 2011

Living Room After

So, I've come to terms with the fact that no matter how hard I try, the pictures of the Little House will not look like it came off Miss Mustard Seed's blog.
Or The Lettered Cottage.
Or like it came out of Southern Living.

With that being said, we finally had enough of our dry-rotting linoleum.
So, we set out to find the same vinyl tiles we used in the bedrooms here and here.

Armstrong is the brand and you can only find them at Lowe's.
Apparently they are discontinuing that particular design.
We scowered the area and found a store that had enough.


Just a look of the journey...

 
Humble beginnings


Fresh painted walls and trim


Looking like our home...


With the new clean floors


Saturday, March 12, 2011

The Bedroom Reveal


This is what the bedroom looked like a year ago.


Do you see that blue color? That is what the room was painted before Mr. Z moved into the house the first time. At that time, I was young and dumb and didn't take before pictures.


Here is the bedroom now.


Mr. Z said that this bedroom is the most calming one he has ever had and it feels so clean.
I asked him if he ever thought he would say that about a room in The Little House.
He said absolutely not.


(Please forgive the quality of the photos. I am still learning how to take inside shots with our new camera without the flash.)


Friday, March 11, 2011

The Bathroom Reveal

The bathroom renovation has been a great feat.
All 5 square feet of it.

Do you remember the contact paper?


Do you remember the floor tiles held with scotch tape..to the wall?


Do you remember the uneven cabinets?


They are still uneven. But now they look like this.

(Notice the warning signs?)

No more contact paper.


Now we don't feel dirtier after taking a shower.

(Smell update: We have determined that the smell is coming from the bathtub drain so for now we have put a drain cover over it and the smell is only faint. The drain needs an 'S' trap. We will be working on that soon.)


Wednesday, March 9, 2011

The Spare Bedroom Reveal

Trying to take good 'after' photos has been more difficult than I thought.
We are about 95% settled in, but there are a few things that we don't have a place for and a few stray boxes hanging around.

Over the past year, we have worked on The Little House every trip home. Slowly we have made it our home.

So, do you remember the yellow room?


This is what it looked like a little less than a year ago.


This is what the room looks like today.

*drum roll*


More 'after' pictures to come. I have to get everything else picture pretty and I need a day that it isn't raining.


Friday, December 3, 2010

The Indestructable Baseboards

Thanks to Father-In-Law and his speedy work with the floor tiles, we had a whole day to work on something extra on our trip in last week.
Baseboards.
Since we hadn't planned on having time to tackle baseboards and it was Black Friday and I didn't want to have to punch someone trying to get 1x4's and you know our loathing of crowds, we were left in a 1x4 situation.

Family, always there when you need them. Even when you just need 1x4's.
Big Brother offered to cut some 1 inch planks down for us.
In the stack, he had pine. Perfect.


At the bottom...


There was some nice oak close to the top. Big Brother said we would need to use screws instead of nails, not a problem. We just so happened to get Mr. Z a nice big drill before we left and he was itching to use it.

So, let the cutting begin.


And the painting.


And the measuring and re-cutting.


Now for the grand finale of putting them up!
...At least we thought...

That oak that we cut, painted, and cut again is apparantly indestructable.
The new 18v drill and the wood screws were no match for the wonderful hardwood.
Daddy told us to put WD-40 on the screws and that might help. Another wonder of WD-40!
He said that Pawpaw used to spit on nails to make them go through hardwood.

 If the WD-40 didn't work, then we would just have to drill the holes first then put in the screws. 
We did both just to cover our bases.


Hold the board in place, drill hole, change bits, spray the screw with WD-40, drill the screw in, change bits, and repeat. 
We were really on a roll.
At least until we ran out of studs to attach the baseboards to.
I'm not kidding.
They just aren't where they are supposed to be.
We tried the stud-finder, but it even got confused.

We think they didn't have enough long boards that would reach from floor to ceiling so in some places they used horizontal studs.


Since the floors and walls aren't really flat and level, I don't think wood glue will really hold them, especially against the card-board walls.
We may end up just propping them against the wall. We are going to have furniture that will hide most of them anyway, right? We will just put a sign up that says to please re-prop the baseboards when you knock them down. No biggie.

We only got part of the kitchen done.


Once they are screwed, taped, glued, and plastered up, I think they will look really nice.