
So, you know The Little House and its quirks.
Well, the bathroom has some problems that I think guests may want to be aware of.
Instead of always having to remember to let company know that they need to be careful, I thought I could come up with a cute but effective way to letting guests know what they need to.
Shabby chic warning signs, if you will.

The following is a very lengthy tutorial that also explains basic actions within Microsoft Word.
Please forgive me. This is my first tutorial to write. I may need to work on my editing skills, but I didn't want to leave anything out.
First, I decided what I wanted to type up.
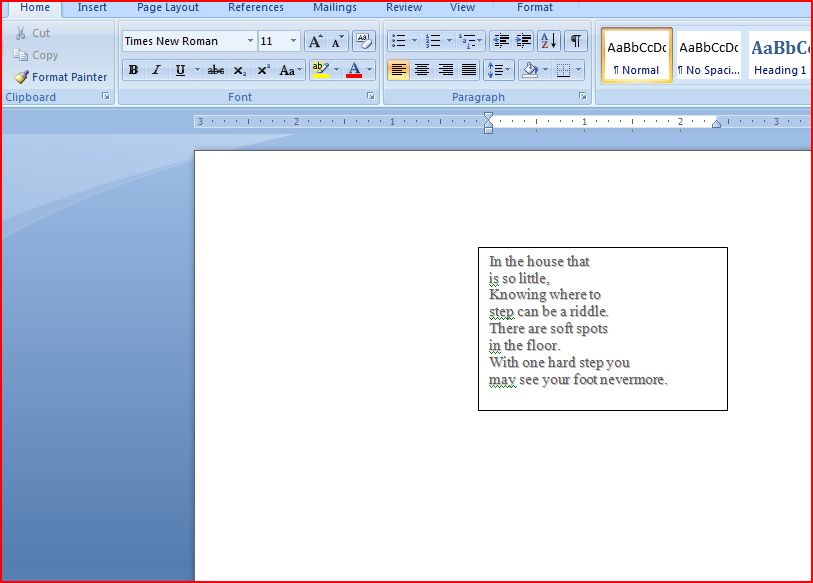
Here's what I ended up with:
In the house that is so little, knowing where to step can be a riddle. There are soft spots in the floor, with one hard step you may see your foot nevermore.
Mind your head upon rising, it really depends on your sizing. The cabinets, they do not stay closed because the house is sinking. A good bump on the head is no good for thinking.
Be careful of your stance in the shower, please. The tub leans about twenty degrees. There are handles inside for your aid. If we aren't careful, the bathroom will be an outhouse, I'm afraid.
Then I checked Hobby Lobby's website to find out if their frames were on sale. Sure enough, they were.
(If you want something from Hobby Lobby, sometime within about a 4 week period it will be on sale for 50% off!)
I picked out my frames.
3 frames @ $6.00 a piece = $18.00
Then I picked out ribbon. I chose a "fancy" ribbon which was $6.50 for 3 yards.
(I ended up only using 2 yards)
Now comes the tedious part.
I got on Microsoft Word 2007.
I knew I wanted the text part to have a border so I used a text box.
Go to the 'Insert' tab at the top. Then, go over to 'Text box'.
I chose the first one on the drop down menu.
Then you type your text inside the box
The next step is to get the box the size you need so you can adjust your text size later.
My frames were listed at 3.5"x3.5", but like most frames, the part of the picture that actually shows through the glass is smaller. I decided I wanted my boxes to be 3"x3"
While you are still "clicked" inside the text box, go to the 'Format' menu at the top.

In the right-hand corner you will see two boxes with sizes inside them. I changed mine to 3" and 3"

My box is the size that I need, so I can change my font size to fill it it and I can see clearly if it will be too big or too small.

Clearly, now it is too small.
To change the font size, highlight the text and click the 'Home' tab in the top, left-hand corner.
You can change the font just you would normally do.
I used Monotype Corsiva in 20pt font.

I also wanted the text to have a little more substance, so I decided to shadow them.
At the bottom of the font section to the right, there is a small arrow thingy (you can see it in the above picture). If you click that, the font dialog box will open.

I checked the 'Shadow' box.
(I also changed the color of my font to a deep grey)

You can play around and see if you like anything else. It will give you a preview below.
I also centered the text by clicking the center button in the Paragraph section.

(This centers the text from left to right. Later we will center the text from top to bottom.)

Ok, now that I have the text the right size, shape, and color I need to fix the border around my box.
Go back to the 'Format' menu at the top.
(If there is no 'Format' menu, make sure you are "clicked" inside your text box. If that doesn't work, just give up now.)
Ok, so you have clicked the 'Format' menu.
I wanted to change the color of my border to a dark grey to match the text.
Click the 'Shape Outline' button.

You can pick a basic color here or pick a more specific color by clicking 'More colors'. That's what I did.

In the bottom right-hand corner it will show differences between the last color you picked and what you are looking at now. Once you are satisfied with the color, click 'OK'.
Now to add a little substance to the border.
Look over at the right side where we sized our box before. There should be another arrow thingy.

If you click it, this box should pop up.

Ok, now we are rolling. Click the 'Colors and Lines' tab.
The 'Fill' is basically the background inside the box. I wanted to keep mine white.
The 'Line' is the border.
(Why they don't just call them Background and Border, I don't know.)
I changed my Line style to a 3 bar one and I wanted it to be chunkier so I bumped up the Weight to 7pt.
(You can also change the color here too if you want.)

Now we want to center the text within the box from top to bottom.
Click the 'Text Box' tab. Under Vertical Alignment, click 'Center'.

Here is what my finished product looked like.

Now, I needed to make 3, remember? So instead of starting from scratch again, I right-clicked on the border of the text-box, hit 'Copy'. Then I clicked in at black area of the page and right-clicked again, hit 'Paste'. I moved the box where I wanted it, deleted the text and typed up the next one.
Once they were all typed, I printed them on cardstock. I cut around the borders, leaving enough room, just in case some of the area outside the border showed through the glass.
My frames had cardboard stands on the back, so I just popped them off with a butter knife so the frames would hang smooth against the wall.
Then I ran the ribbon through the corners of my frames.
I then realized that I am not a true crafter yet. I don't have a hot-glue gun.
How have I gotten through life this far without a hot-glue gun?
Then I remembered we had some velcro strips. so I velcroed the ribbon down in the back of the frame, and Taa-Daa!!


I can't wait to see how they look in the bathroom of The Little House.
Which is only a month and a half away!
I have finished with all my requirements in the outpatient clinic on-campus, so I can finish my hours in other clinics. So, we will be moving back in the middle of February!


Whoa...that's why it took you so long to do them. Great job babe!
ReplyDelete